
Quick answer
A calisthenics back workout should combine a vertical pull, a horizontal row, and a small amount of controlled trunk work. Use the beginner session if you are still learning pull-ups, or the intermediate session when you can repeat clean pulling sets. Train twice a week and leave two or three repetitions in reserve.
You need something secure to pull against. The beginner option uses a pull-up bar and a stable row support; the intermediate option adds rings for rows. Floor-only training can develop control and train your lower back, but it does not provide the same progression for your lats as loaded pulling. Check every support before putting your weight on it.
Calisthenics back workout: the sessions
Beginner (no equipment / bar only): bar plus secure row support. Intermediate: bar and rings. If your table is not designed to support your weight, use a purpose-built low bar for the same row pattern. Do not improvise an unstable substitute.
Spend five minutes on easy general movement, then five to ten minutes rehearsing easier versions of the session movements. The table begins after that preparation. Put the demanding strength work first, and keep the entire session within sixty minutes. If time is tight, reduce accessory work before cutting every rest period short.
| Exercise | Sets | Reps / hold | Rest | RIR |
|---|---|---|---|---|
| Negative Pull-Up | 3 | 3–5 | 2–3 min | 2–3 controlled reps |
| Table Row | 2 | 6–12 | 2–3 min | 2–3 |
| Arch Raise | 2 | 8–12 | 60–90 s | 3 |
| Prone Y Raise | 2 | 10–15 easy | 60 s | 4+ |
| Dead Bug | 2 | 6–10 / side | 60–90 s | 2–3 |
| Exercise | Sets | Reps / hold | Rest | RIR |
|---|---|---|---|---|
| Pull-Up | 3 | 4–8 | 3–5 min | 2–3 |
| Ring Row | 3 | 6–12 | 2–3 min | 2–3 |
| Arch Raise | 2 | 10–15 | 60–90 s | 3 |
| Prone Y Raise | 2 | 10–15 easy | 60 s | 4+ |
| Dead Bug | 2 | 8–12 / side | 60–90 s | 2–3 |
RIR means repetitions in reserve. Choose the table that matches your current control; do not complete both sessions back to back. Rest is between sets, and ranges are targets rather than a reason to force poor repetitions.
Why these exercises
Negative pull-ups let you practice the lowering phase before you can lift yourself through a complete repetition. Step into the top position rather than wasting energy on repeated jumps. Use a short, controlled descent and end the set when you cannot maintain it. These repetitions are demanding, so three careful reps are more useful than a long series of uncontrolled drops.
Rows supply the horizontal pulling that a pull-up-only plan misses. Bend your knees or stand more upright to reduce the load. Move toward a straighter, more horizontal body position as you improve. Keep your chest and hips moving together so a stronger hip thrust does not masquerade as a stronger back. The angle of the body belongs in your training log.
The prone Y raise and arch raise have supporting roles. The first provides light shoulder-blade practice; the second trains controlled trunk extension. Neither should become a contest to lift as high as possible. Keep the movement small and deliberate, and distinguish this work from hard pulling sets. Dead bugs provide a different trunk task so you do not finish every exercise by arching your back.
At the intermediate level, full pull-ups replace negatives and ring rows make horizontal pulling easy to adjust. You do not need to introduce an advanced lever to make this session harder. Add a repetition, extend your row angle, or pause in a position you already control. Choose a difficulty that leaves enough energy for both directions of pulling.
How to progress
For vertical pulling, move from controlled negatives to single full pull-ups, then repeatable sets of pull-ups. For rows, start upright or with bent knees, progress toward straight legs, then use a more horizontal angle. Do not attempt a one-arm progression just because you reach the top of one rep range; first make the ordinary pattern consistent.
The beginner session supplies five hard pulling sets, or ten each week when repeated twice. The intermediate session supplies six, or twelve each week. Track lower-back extension separately from lat and upper-back pulling. The two easy Y-raise sets are preparation-level work, not extra hard sets for the weekly total.
Use a repetition range instead of a fixed number you must hit at any cost. If your target is six to twelve, begin with a variation that allows at least six controlled reps while leaving two or three in reserve. Add a rep to one or more sets over time. When every set reaches twelve with the same technique, move one rung harder and start lower in the range.
Aim toward ten to eighteen hard sets per priority muscle each week only when you can recover from them. About four can be enough to begin making progress, and five to ten is an efficient starting range. Eleven to eighteen can add stimulus, but returns diminish near twenty. Count indirect work as roughly half a set: push-ups contribute to triceps, and rows or pull-ups contribute to biceps.
Place your sessions on two repeatable days, such as Monday and Thursday. Going from once to twice a week is a useful first change; adding a third or fourth day is not automatically better. Start with less work if the full table is too much: use two sets for the main exercises and keep the supporting movements easy. Build toward the listed amount rather than forcing it on day one.
Every three or four weeks, take a lighter week with the same exercises, easier variations, and about twenty percent fewer repetitions. Resume from a workload you can repeat. If performance drops across several sessions, review your total weekly training before adding more. A log should record the variation, repetitions, range, and estimated effort, not just whether you completed the workout.
Common mistakes
- Skipping rows because pull-ups feel more impressive. Keep both pulling directions in the session so your routine is not simply several grips of the same movement.
- Using a doorway or table without checking the setup. Use only a support that can safely bear your weight and cannot slide, tip, or detach while you pull.
- Kicking into every repetition. Keep the legs quiet and lower under control. Reduce the set length before momentum becomes the main way you reach the bar.
- Counting hangs, warm-ups, and easy floor raises as full hard back sets. They have useful roles, but the weekly growth budget should reflect demanding work for the muscle you are tracking.
- Adding direct curls without counting pulling first. Rows and pull-ups already contribute about half a biceps set each, even when the back is the focus of the workout.
More exercises
Browse popular options from the same muscle group, including floor, bar, parallel-bar, and ring movements. The catalog also includes mobility and stretching; use those for preparation, not as replacements for hard strength sets.
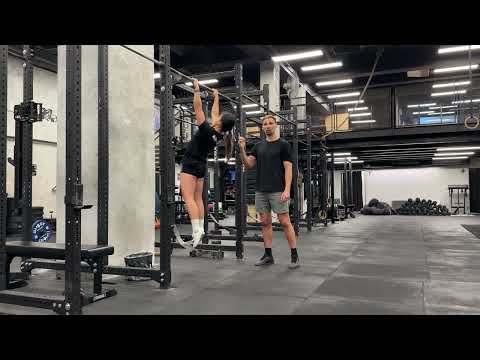
Hang (Arch)
Targets: Lats, Shoulders
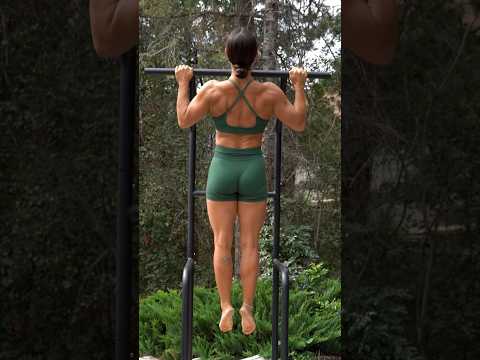
Pull-Up
Targets: Lats
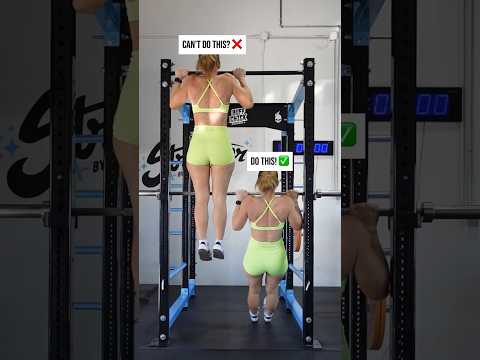
Negative Pull-Up
Targets: Lats
Arch Raise
Targets: Lower Back, Glutes
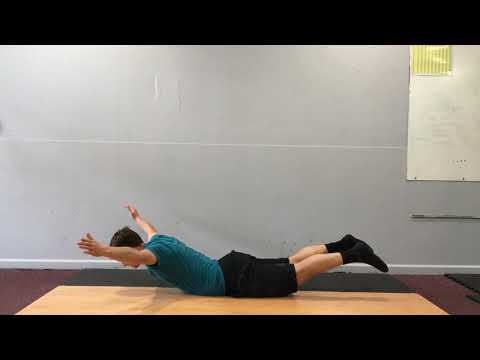
Arch Body Hold (Prone)
Targets: Lower Back, Glutes
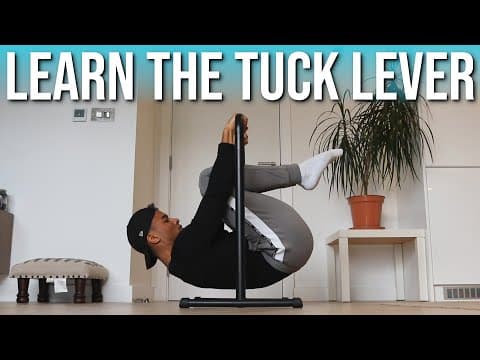
Front Lever (Tuck)
Targets: Lats, Middle Back
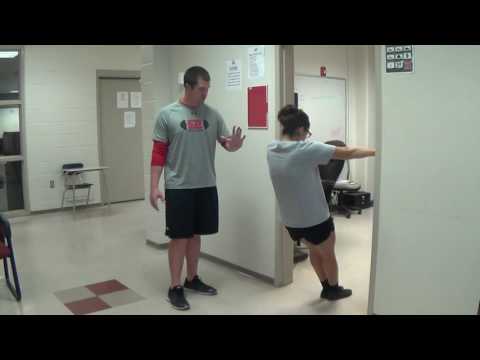
Row (Vertical)
Targets: Middle Back, Biceps
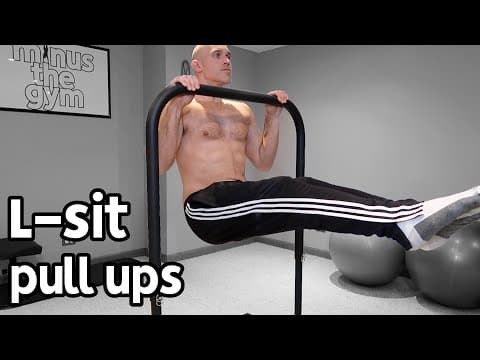
Pull-Up (L-Sit)
Targets: Lats, Abdominals

Backbend (Shoulder Bridge)
Targets: Shoulders, Lower Back
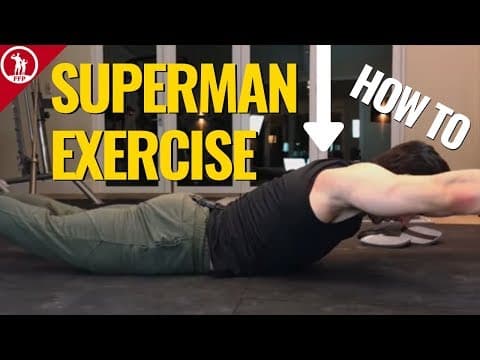
Superman Hold
Targets: Lower Back
Frequently asked questions
Can you build a big back with calisthenics?
Yes, progressively harder pull-ups and rows can build back muscle. Your eventual size depends on consistent training, recovery, and how far you can keep increasing the challenge. Bodyweight training still needs progression; repeating easy sets forever is unlikely to keep producing the same result.
Do I need a pull-up bar?
For this workout, yes: the vertical pull uses a secure bar. A stable row setup is also needed for the beginner session, while the intermediate version uses rings. With only floor space, train control and trunk extension, but recognize the limited resistance available for your lats.
What if I cannot do a pull-up?
Use the negative pull-up row in the beginner table. Step up to the top, lower under control, and stop before you lose the descent. Progress the control first, then test one full pull-up at the start of a fresh session.
How many times a week should I do this workout?
Start with twice a week, with a rest day between sessions. Include the same muscles trained in your other workouts when counting volume. Two sessions that fit your actual schedule are more useful than planning six days and abandoning the plan after the first week.
Should every set reach failure?
No. Stop most sets with two or three clean repetitions left. Training to failure is not required for strength progress and adds recovery cost. For timed holds or controlled negatives, use loss of position or descent control as the limit rather than forcing an arbitrary number.
How long should a session take?
Keep the session within sixty minutes, including preparation. Take two to five minutes between hard strength sets and sixty to ninety seconds for lighter accessories. If the session runs long, remove a supporting set or reduce the starting workload instead of rushing every rest period.
What should I do if I miss a session?
Resume at the next sensible opportunity rather than cramming two full workouts together. Keep a manageable two-session rhythm over the following week. During the first twenty-eight days, making the routine easy to repeat matters more than a perfect calendar or a dramatic jump in volume.
Track your workout in Fitloop
Fitloop is free. Record your chosen variations, sets, and repetitions so you can repeat a productive session and see when the next progression is appropriate.